Transitioning to a standing desk without quitting by day three
A note up front: this is general guidance, not medical advice. If you have foot, leg, or back conditions, check with a clinician before changing how you work.
The classic standing-desk story: day one, you stand for six hours feeling virtuous. Day two, your feet ache. Day three, the desk stays lowered and you tell everyone standing desks are a scam. The failure wasn't the desk — it was the transition. Standing is a physical adaptation, and it needs a ramp, not a leap. Trial it free, calibrate it to your body, pick a schedule, and run the four-week plan.
Step 1 — Trial it free: the one-week box test
Before spending money on a sit-stand desk, find out whether you like standing work. You need two things: a flat surface at roughly elbow height and something to stand on.
- Build a standing surface. Stack sturdy boxes or books on your desk until your keyboard sits at about elbow height, arms near 90 degrees. It will look ridiculous — it's a one-week experiment, not furniture.
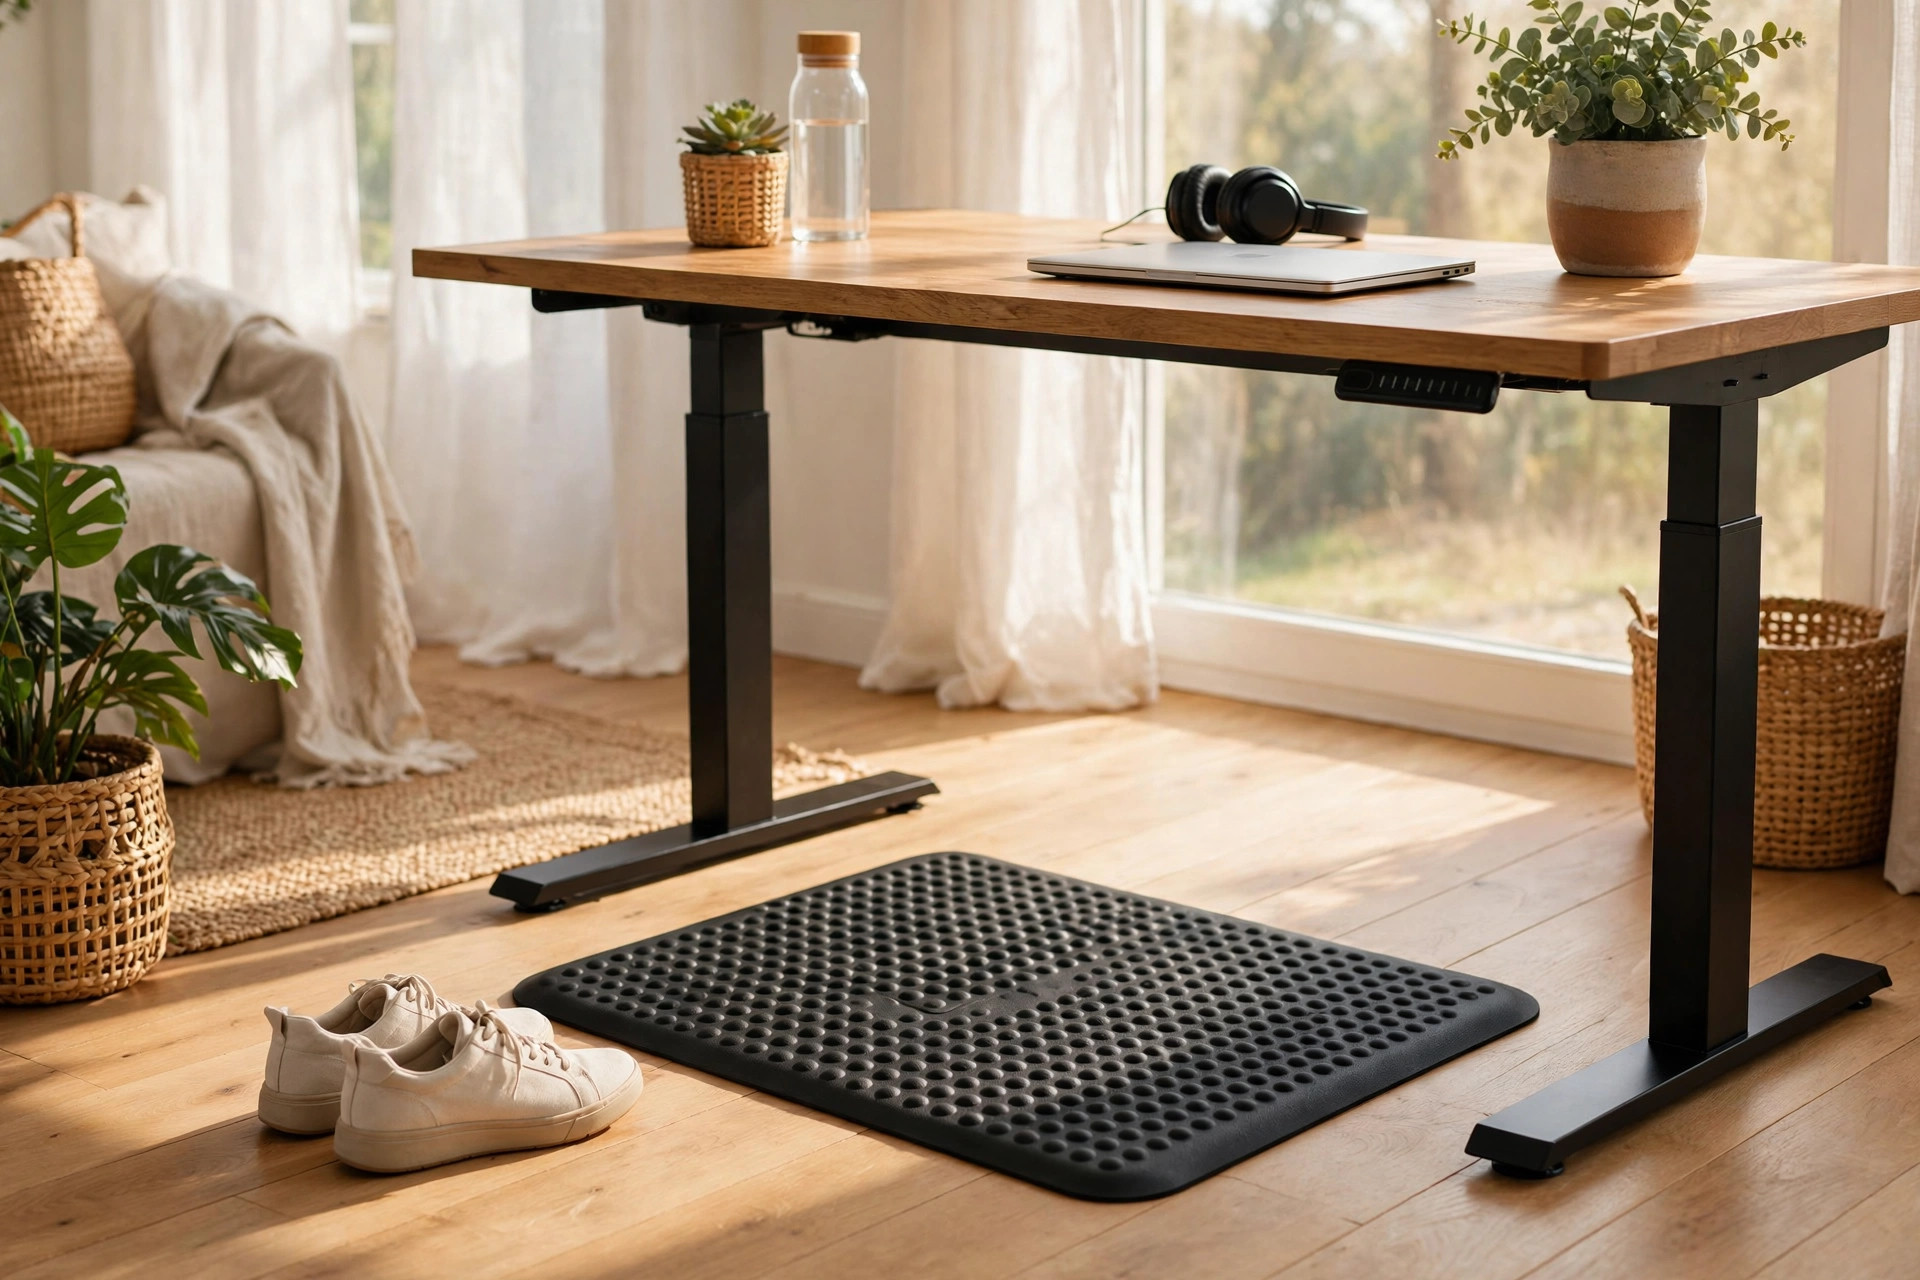
- Get a mat. The one thing worth buying for the test: something cushioned to stand on. Experienced standers are emphatic — a mat is a must, even with shoes. A cheap foam mat works.
- Run the week. Alternate short standing blocks with sitting. Note honestly: do you feel more alert standing? Do your feet tolerate it? Do you get work done?
What success looks like: by day five you can name tasks you prefer standing for (calls and email are the usual winners) and your feet recover overnight. Hate every minute of it? You've saved the cost of a desk. Like it? The habit is worth investing in.
Step 2 — Calibrate the desk to your body (not a generic number)
"Elbows at 90 degrees" is correct and useless — it doesn't tell you your number. Do this once, properly:
- Measure your standing elbow height. Wear the shoes you actually use at the desk. Stand naturally, relax your shoulders, bend elbows to roughly 90 degrees (a touch more open than closed feels best), and measure floor to underside of forearm. That's your desk height.
- Set the desk to that number and save it as a preset if your desk has memory buttons. A one-button setup is one you'll actually use.
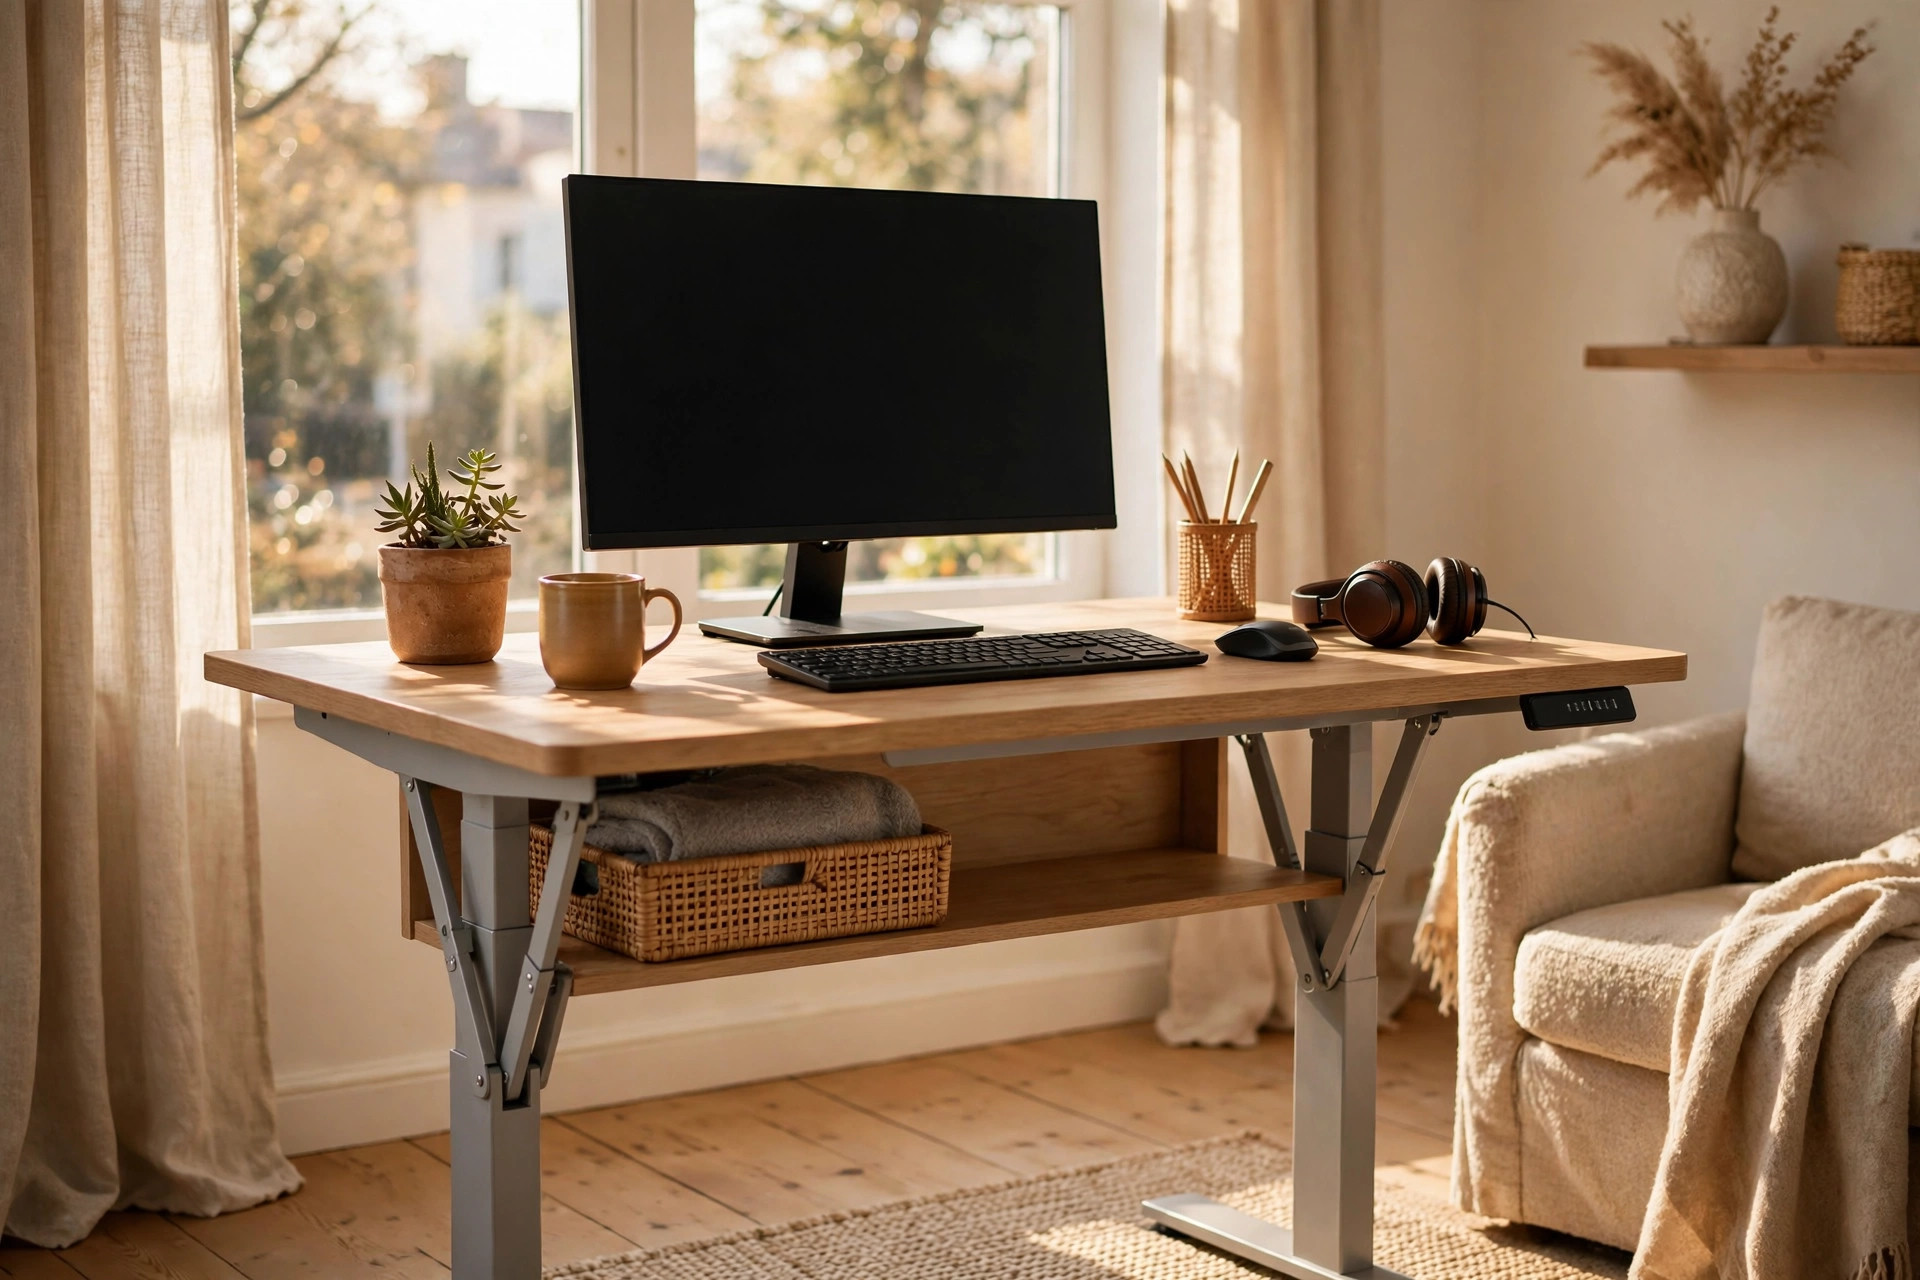
- Set the monitor. The top edge of the screen should sit at or slightly below your natural forward gaze standing straight. You'll likely need a riser or arm — a screen that's too low will have you slouching within the hour.
- Check both directions. Too tall makes blood pool away from your hands (painful); too short makes you hunch (neck and back pain). If something aches in ten minutes, the height is wrong — adjust before blaming your body.
What success looks like: shoulders relaxed, wrists straight, screen at eye level — and you forget the setup within minutes because nothing demands attention.
Step 3 — Pick your schedule: the three systems, compared
| System | The rhythm | Best for | Watch out for |
|---|---|---|---|
| 20-8-2 (Cornell ergonomics) | Every 30 min: sit 20, stand 8, move/stretch 2 | Beginners who want a researched starting point | The 8-minute stand can feel short at first — shorten it further if needed |
| 30-30-5 | 30 min sitting, 30 min standing, 5 min moving | People who like predictable, even blocks | 30-minute stands are ambitious in week one — build up to them |
| Hourly 15 | 15 minutes standing per hour, sitting the rest | The simplest rule to remember and follow | Easy to skip the 15 — pair it with a timer |
The 20-8-2 rule comes from Cornell University ergonomics research and is the most cited starting point — it keeps you changing posture instead of locking into one position. But the honest truth from long-time standers: the ratio matters less than the habit of switching before your body complains. Pick the system you'll follow, and use a timer — time-triggered changes persist where motivation-based ones fail.
Match position to task. Standing suits calls, creative brainstorming, and quick email; sitting suits deep analytical work and precision tasks.
Step 4 — The 4-week ramp (numbered plan)
Do not progress to the next week until the current one feels comfortable. Treat the daily totals as ceilings, not targets.
- Week 1 — Learn the motion. ~30 minutes of standing per day, in 3–4 blocks of 8–10 minutes. Shift weight between legs; don't lock knees. Some foot or calf fatigue is normal. Sore legs at first are nearly universal, and the adjustment is usually shorter than feared.
- Week 2 — Build the habit. ~1 hour per day in 20-minute blocks during your most alert hours. Add a timer. Lower-back tightness means check your desk height, not push through.
- Week 3 — Extend. 1.5 to 2 hours per day, alternating across the day. Add gentle stretches in movement breaks: calves, hip flexors, shoulders. Watch for knee or hip stiffness.
- Week 4+ — Find your rhythm. Settle around 2 to 3 hours of standing spread across the day — the sustainable ceiling, not a full shift on your feet. Keep the timer and a stool nearby.
What success looks like: position changes happen on autopilot, feet recover overnight, and you stand for a call without deciding to. Deadline days you'll sit for hours — normal. The goal is a sustainable average, not a perfect streak.
Gear that earns its place
- Anti-fatigue mat — the highest-impact purchase.
- Supportive footwear — decent arch support for long stands.
- A footrest — something to shift your weight against.
- A tall stool — for the in-between moments when full standing is too much.
Stop signs — sit down and reassess if: pain lingers into the next morning, numbness or tingling in feet or legs, or back pain that worsens over two weeks. Check your setup with a professional rather than toughing it out.